Showing posts with label fiberglass. Show all posts

Monday, September 2, 2019

A lot of small steps

The control surfaces are in the paint shop.


After much trimming, I finally felt that I had a good fit for the bulkhead and cut one out. Another kitbuilder at the airport had some extra glass layups from his kit and kindly donated a piece to OspRey. 


Note the mockup battery. I finally got wise and made it out of scrap wood, allowing me to fit the 16# battery without being terrified of dropping it and breaking the hull. 


Tack the bulkhead into place with 5 min epoxy, and wait for it to dry.


Then make fillets. I was doing this on a Friday afternoon and plannig to work through the weekend when I realized I should check my supply stock. Sure enough, my big can of resin had crystallized, but luckily, Fiberglass Supply is just across the airport from me. A quick run over and I had a fresh can, ready for the weekend.

They say a perfect fillet should be the radius of a tongue depressor. I ran out but discovered a quarter was also perfect. 


The next morning I refreshed my fiberglassing skills and sealed the bulkhead in with 2 layers of glass: a 1" strip over the fillet, followed by a 2" strip over everything. 


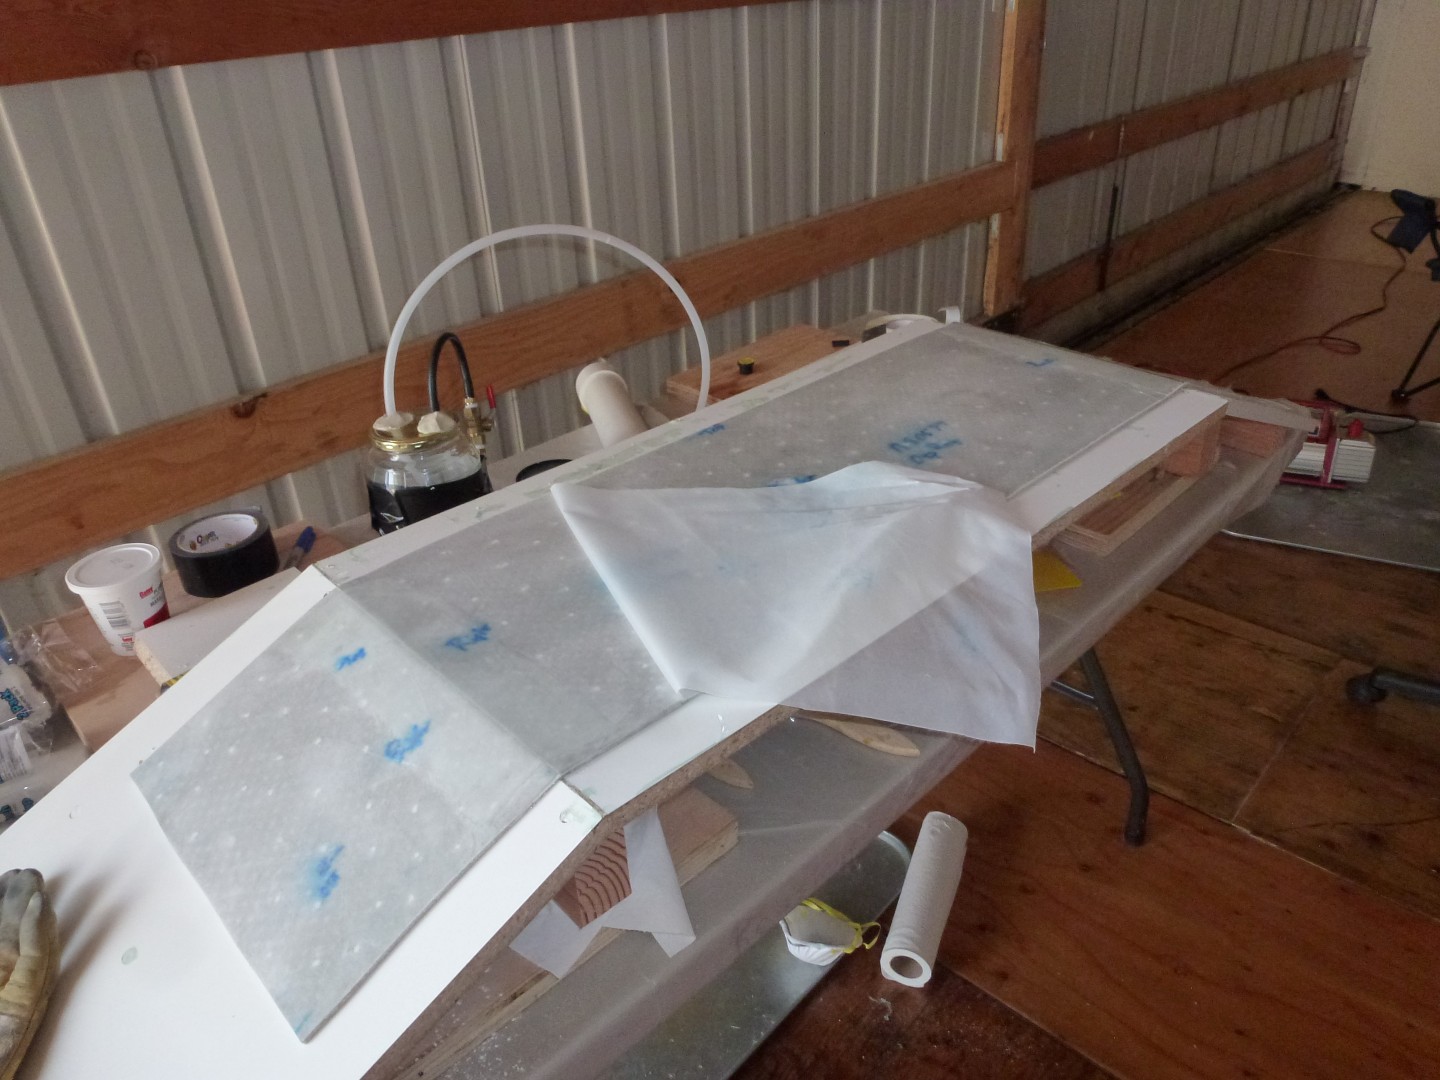
Nothing secret, just keeping the avionics from getting accidentally glassed.


Jim is going to freak when he sees this. Because of some new equipment that would not fit on the old tray, we've pulled the avionics tray he so carefully built and are building another one.


Next steps will be to design and fabricate the new tray, rerun the wiring, and continue working on the new panel. All good...


...

Monday, February 1, 2016

Rub-a-dub-dub, and a WTF?

As the summer went on I picked a warm morning and gave the wings a bath, washing off a couple years of hangar dust and getting them back inside the hangar before the PolyBrush got UV'd.


After they dried I noticed a sticky yellow substance oozing from the right wingtip fairing. By the consistency it's been happening for a while, consensus is that it's resin from the expanding foam used to fill the hollow edge of the tip, and if the wing been stored horizontal the resin would have just accumulated at the edge. But what's puzzling is that there is no foam high enough to be dripping through the opening. I'll be keeping an eye on it. Left wingtip is fine.


Saturday, September 8, 2012

Being stubborn, or learning a new skill?

After the sucess of pulling the panel I decided to make new baggage decks. The PA baggage decks are a beautiful wood that needs to be sealed and carpeted, weight about 3.1# each. I took it as a challenge to make lighter ones out of glass and foam.


I found that a nail punch worked great for making holes in the foam.


Instead of the lousy Harbor Freight vacuum pump I tried a venturi adapter by West Systems off my air compressor. Bad idea #1, it meant running my 20 gallon air compressor for over 6 hours.


Bad idea #2. I had read that you could run 2 lines to a large mold to increase the vacuum. I took this to mean you could run 2 molds at once. Nope, the most I got was 15" of vacuum.


Bad idea #3 can be seen under the molds above. I tried an old trick of taping plastic wrap to a work  table as a release agent. Instead the tape was not tight enough, the plastic lifted off the table,  and they both were junk.


That's why they call it learning, it was off the Fiberglass Supply for a new load. I like my Imprenza, but I miss the cargo capacity of my old '85 Mazda GLC. I could fit an entire sheet of 4x8 plywood inside with room to spare.


First was to make a better place to use as a mold. I tried applying a coat of 3M spray glue to a piece of MDF, and laying 4mil sheet over it...


but when the glue set up it outgassed, leaving bubbles and making it useless. 


Instead, like I used for the panel layup, I bought a sheet of  finished MDF and trimmed it down. Ironically, the perfect material is a sheet of glass, plexiglass is also an option but both are cost prohibitive. The green film is a water soluble release agent.


I also went with a good vacuum pump. Amazing how much quieter it is, and how little oil it throws compared to the cheap HF unit. I was even able to add a piece of tubing to route the breather oil outside the hangar.


Voila. Much better. Still got the gaps in the bottom layer, I think my slurry mixture is too thick and doesn't compress/spread well.The gas are not air bubbles, they're solid down to the foam. If it had been a structural member I'd probably redo it, though.


Old and new. The little hump in the middle is sanded off and a piece of scrap glass laid in.


Just for practice, while I had everything out a did another layup with scraps. Later on I'll use the tools and equipment again to reinforce the nosedeck.


Was it worth it? I saved ~0.5#/deck, but the glass will be easier to work with for something I want to do to them. Plus I learned a new skill, who knows when that will come in handy. And it was fun, too. Can you put a cost on any of that?

Thursday, August 16, 2012

Being stubborn, and fiberglass instrument panels


On the SeaRey support forum John Dunlop showed how to build a fiberglass instrument panel. He made it look so easy, but like anything done by an experienced builder it wasn't.

First, build the form from a 24"x48" prefab piece of shelving material and some 2x4s


Next, a layup using West Systems and 1/8" Last-a-Foam.


Despite weighing it down, after 2 tries I was still getting air bubbles on the face of the panel, which was unacceptable. On both tries when I tried to sand the bubbles out I ended up going through the glass and into the foam. Sooo..... I got stubborn, and decided to learn how to make vacuum bag fiberglass layups. Funny though, when I tried to destroy to failed pieces they were a real b**ch to break in half for the garbage, 1/8" foam layup is a lot stronger than it appears.

I showed up bright and fresh Monday morning at Fiberglass Supply in Burlington, WA. and despite the ungodly hour of 0800, they were kind enough to take the time to show me how to set up a simple system. Reference came from a tutorial by West Systems, and the book Advanced Composite Techniques


.


One good idea I finally had: instead of getting down on the floor and trying to measure the cloth, or wresting the fabric as it shifted around on the table, I covered my workbench with a 2 mil dropcloth and drew the measurements directly on it with a Sharpie. Much easier.


Setting up the hardware was "interesting". From L-R is the hose to a vacuum pump (more on that later), a 7"x2" piece of PVC pipe with the left endcap tapped for the hose fitting, and the right side tapped for 1/4" brass barb. (The PVC pipe acts to smoothen pressure pulses from the pump.) Next comes a  1/4" rubber hose with a brass t-fitting tapped to a vacuum gauge from an auto parts store, 1/4" shutoff valve, more hose and a 1/4" brass barb tapped into a pickle jar. The jar is for collecting excess epoxy, but only a few drops came through on my pull, so I was a bit too stingy with the epoxy. The white hose goes to the suction cup attached to the layup


Prep the mold by painting it with a "release agent", a barrier that keeps the resin from sticking. You're supposed to spray it, but I had good success with painting it on.


And cut all your material.


During the layup I found the glass became translucent and nearly disappeared, so on the top layer I marked the ends.


Rehearsal: 2 layers of glass, foam, 2 more layers of glass, release film, perforated film for the epoxy to be sucked through, breather material for spacing (white cottony stuff), and final sealing layer.


The whole stack was laid over a chair in order of use.


Let the games begin. First 2 layers of glass, followed by the foam core. In retrospect I was a bit too aggressive about squeezing resin out of the bottom layers of glass that are the face of the panel, I should have left them a little damp and let the vacuum pull the excess out through the holes in the foam core, as you see here. I also cheated and gently put a couple 1/4" staples at the top corners of the foam (in areas that will be trimmed off) to hold it in place on the mold.


Now let's start laying up the bag. For some parts you actually do use a bag, but the term seems to also be used for table or mold layups. Note the "mastic", or double sided tape on the perimeter of the mold. Everything has to fit inside it.


The final layer (or bag) is cut oversized to keep it from pulling, and the vacuum causes folds/creases that must be sealed with more mastic.


A small hole is cut in the center, the suction cup is attached, pump started, and valve slowly cracked to introduce vacuum. Then you move around with a roll of mastic, sealing the folds/creases and pressing the seams tight.


You get what you pay for in tools. A decent vacuum pump will run you $300+, and while Fiberglass Supply sells a converter to make your shop air compressor into a vacuum pump, they were out of stock. Instead I purchased a middle of the road unit from my local Harbor Freight. While it pulled a decent vacuum, it sprayed so much oil it looked like a vaporizer. I tried a couple cotton dust filter masks but they quickly became saturated. I ran back and bought another pump, same thing. I wasn't about to abandon the layup so I just kept it going, kept an eye on the oil level, and got a book out for a few hours.


Pulled a decent vacuum though, 20" at one point. It was interesting how even a small relocation of the suction cup could give me another inch or more of vacuum.


The morning after. Time to see how it went.


Not bad....


Not bad at all. Some minor gaps in the slurry, but pressing on what appear to be air bubbles show them to be firm, with zero give like a bubble. Next time I would not be so aggressive about squeegeeing out the resin and leave it a little damp. I had mechanics Scott, JR and Hal look it over and they all agreed it did not need to be redone.


The panel has now been turned over to my friend Gordon at Second Story Construction for a laminate. Nothing like a good piece of hickory.