It's been a long few years, no need to post once in a while pics of slow progress, so here's some catching up.
We've been working on beautiful, crisp fall days

and sometimes late into the night.

And winter days. I miss the rustic feel of my old hangar, but it's REALLY nice to have a weather tight hangar and HEAT!!!!

The focus has been on getting OspRey ready for paint, going over every seam and layup, looking for blobs of Polybrush or fabric peeling up.

Dan Older of Old Aire Seaplanes on Lake Whatcom will be doing the painting, and he's a perfectionist, like me. Dan is very popular in the aviation community up here, and OspRey is patiently waiting her turn.

And the hangar door got some needed maintenance.

Turns out my Ameri-King AK-451 was the subject of an emergency AD a few years ago. We were hoping it would pass the test and still be operable but no-go. Not even dropping it onto the concrete hangar floor was enough to set it off. *groan*....

When I cut the notch for the flap pushrod I was new to metal working, the manual said make it .75"-1.0", so I made it 1". After looking at other SeaReys I realized how disproportionate the 1" gap looked, ordered new pylon side covers, and cut it to .75". Much better.

I have also made the acquaintance of a gypsy metalworker named TJ, who travels the west coast only accepting jobs that interest him. We met one night at the hangar, OspRey and him talked and she cooed at him. End result, TJ is going to help me redo the panel and a couple other things.

Here's an example of his work. This is the old pylon side cover, with a crimp at the end I did to make it sit tight against the aft pylon tube.

TJ gave me a demo of his mad skills that night


Niiiiiccceeeee......
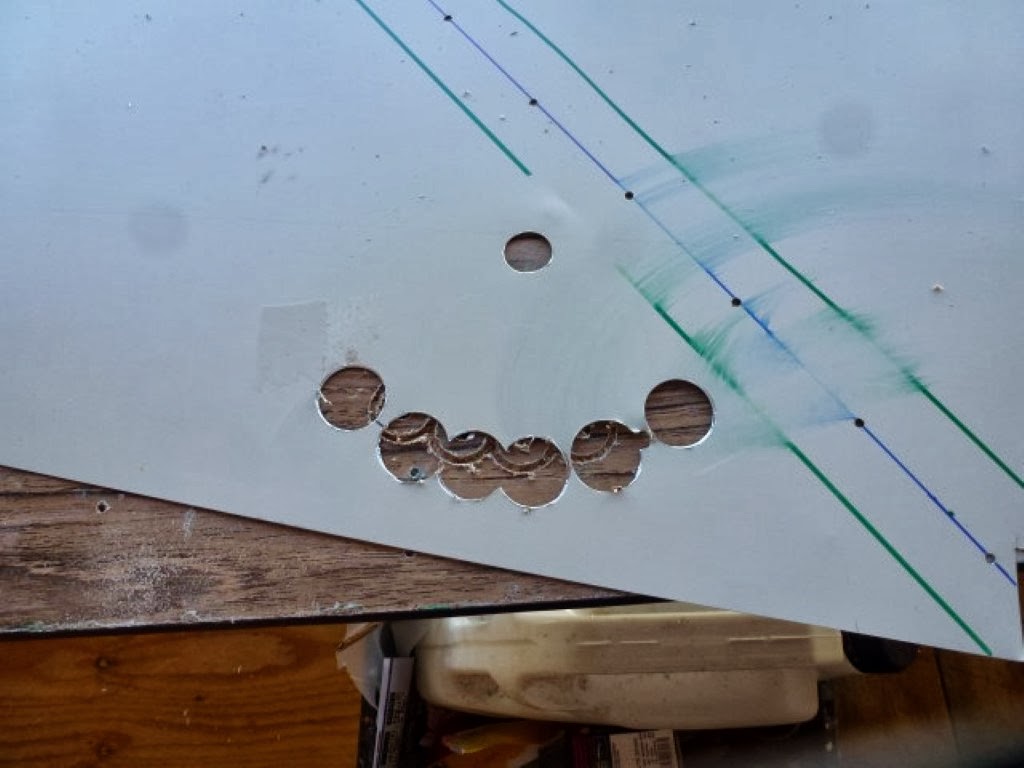
We're also working on the nose area, first step was to remove the old, weak plywood battery support that was already showing signs of cracking. We're going to put in a bulkhead for the battery like on the new hulls, and move the ELT to the nose area to get it away from the heater, and shift weight forward.

Part of the mods requires removing the carpet from from the dash. Heat gun, scraper, and patience.

Lastly, is this my future?

We've been working on beautiful, crisp fall days

and sometimes late into the night.

And winter days. I miss the rustic feel of my old hangar, but it's REALLY nice to have a weather tight hangar and HEAT!!!!

The focus has been on getting OspRey ready for paint, going over every seam and layup, looking for blobs of Polybrush or fabric peeling up.

Dan Older of Old Aire Seaplanes on Lake Whatcom will be doing the painting, and he's a perfectionist, like me. Dan is very popular in the aviation community up here, and OspRey is patiently waiting her turn.

And the hangar door got some needed maintenance.

Turns out my Ameri-King AK-451 was the subject of an emergency AD a few years ago. We were hoping it would pass the test and still be operable but no-go. Not even dropping it onto the concrete hangar floor was enough to set it off. *groan*....

When I cut the notch for the flap pushrod I was new to metal working, the manual said make it .75"-1.0", so I made it 1". After looking at other SeaReys I realized how disproportionate the 1" gap looked, ordered new pylon side covers, and cut it to .75". Much better.

I have also made the acquaintance of a gypsy metalworker named TJ, who travels the west coast only accepting jobs that interest him. We met one night at the hangar, OspRey and him talked and she cooed at him. End result, TJ is going to help me redo the panel and a couple other things.

Here's an example of his work. This is the old pylon side cover, with a crimp at the end I did to make it sit tight against the aft pylon tube.

TJ gave me a demo of his mad skills that night


Niiiiiccceeeee......
We're also working on the nose area, first step was to remove the old, weak plywood battery support that was already showing signs of cracking. We're going to put in a bulkhead for the battery like on the new hulls, and move the ELT to the nose area to get it away from the heater, and shift weight forward.

Part of the mods requires removing the carpet from from the dash. Heat gun, scraper, and patience.

Lastly, is this my future?