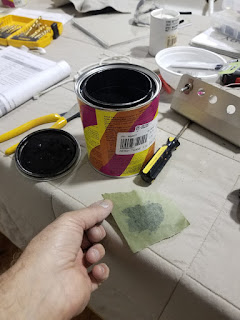
With winter coming and wanting to get it done before the bad weather sets in, I spent some long days and nights carefully sanding FOD off.
Bathtime!!! Even with the problems, its so nice to be able to take them out in the sunshine without worrying about UV deterioration of unprotected fabric.
Greg suggested I up my game and carefully use 320 grit. Done.
I'm forced to say nice things about RV pilots now, very generous of my friend to allow me use of his booth.
PolySpray cannot be applied over Aerothane for UV blocking, so instead a couple light coats of Aerothane Silver do the trick over areas that were sanded down to silver.
While the silver was drying and outgassing I added the gap seals to the ailerons, elevators, and flaps. I had fitted them yeaaaaarrrrs ago when Osp was living at Einars.
This time the white came out beautifully.
Remember that aileron with the run? Not anymore.
Of course there'd be a piece of FOD the size of a meteor. I SHOULD leave it alone and live with it, but.....
I was terrified I'd paint 2 right or left sides, so if in doubt, lay it out and mark the top with tape.
Test to make sure whatever paper you're using won't let the paint bleed through. The first one I tried didn't work. Glad I checked.
Playing with the angle of the paint on the stabs,
sometimes you just need a different perspective.I had a close call when I started to make the fan pattern from the root instead of the tip, I VERY carefully peeled the tape off, shook my head to clear the cobwebs, and redid them. After checking them several times. And rechecking them a few times more until I was certain.
Measurements are one thing, but there's nothing like a 1-1 match.This time I remembered to use a pencil.
And of course, who can resist touching it up one more time. Wasn't the last time.
Amazing how much stuff you can fit into a booth. One good thing of laying them flat was it's easier to spray and didn't have to worry about runs, bad thing was that every piece of dust in the air settled on the control surfaces.
I was wondering why I couldn't breath.
Btw, red shows how much overspray blows around and how easily sneaks out of the paint booth through the smallest of openings.
Ooooooooo.......
A break in the weather allowed me to briefly move the wings outside and admire the repainting. This is the last time they'll be pure white.
Moment of truth. Time to pull the masking.
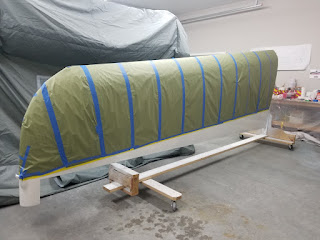
Now it's time for the wings. I was wondering how I'd be able to make a 16' straight line, but it turns out the 3M tape lines up perfectly with a bit of stretching.
Going to try something on the wingtips.
There has to be a better way than to mask it one sheet at a time.
By the time I got to the other side (2 hours later) I was like "Just get it over with."
So much time to mask and tape, they'll be ripped off in minutes when it's painted.
I wanted to try something a bit different and didn't mask the trialing edges, instead I just shot them from the front and hoped for a feathered trailing edge. Came out nice, methinks.
Damn PA and their QC stamps. And me for missing one. Oh well....
A piece of rolled up paper shoved into the gap seal was good enough to keep paint from going too far.
Damn.
Mostly covered in subsequent coats.
Oooooo.....
This is why I masked the wingtips the way I did, I tried the same feathering on them that I did on the control surfaces. Came out nice.
More masking, more compulsive touching up.
Instead of masking paper, I used painter's plastic to cover the red and white before shooting black. Worked great, but you really gotta be careful to make sure the plastic was sealed. I backed up a couple places with paper over the plastic, just to be sure.
On the last few paint sessions I tried to guesstimate it just right, this time I just went ahead and mixed the entire quart, mixed 50% reducer. It made about 48 ounces and I used about 44 of them.
Shit. I'll bet this leaks. (it did)
I was supposed to leave it all alone to dry for a couple hours, but after I got everything cleaned up I decided to go for it.
Yup. Leaker. Not the only one. I've been told to leave them alone, then go back in a couple weeks and buff them off with some grinding compound and 2000 grit sandpaper. Ok.
OOOOooooo!!!!!!!!!
Upon reflection, I may have made the angles too shallow. I had played with the angles on the stab and increased them from what I measured, on the wings I was trying to match the wing lines to the radiator cowling. But in retrospect it looks like I made them too shallow, both should be more forward at the root with a more pronounced sweepback. That the red line is more shallow than the plan is obvious when you compare them to the drawing, and in the drawing the black ends near the end of the metal leading edge sheeting but in reality it's about another 12" to the rear.
Double Oooooo.....
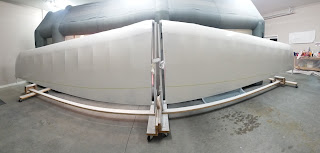
The panorama makes the root look wider than it is. I still go back and forth if I should have made the black and white narrower at the root, give it more sweep, but it looks great, and I'm happy.
More on this later, but here's a teaser.


No comments:
Post a Comment