Accuracy means something to me. It's vital to my sense of values. I've learned not to trust people who are inaccurate. Every aviator knows that if mechanics are inaccurate, aircraft crash. If pilots are inaccurate, they get lost—sometimes killed. In my profession life itself depends on accuracy.
— Charles A. Lindbergh, 'The Spirit of St. Louis,' 1953.
Lindbergh could also be talking about amateur aircraft builders, and I knew going into this that it wasn't if I was going to screw up, but when.
The ailerons are held together by the fabric covering, but in order to attach the wingtips they're needed. So I dry fitted the ailerons with my usual blue tape.
The manual calls for the aileron hinges to be outside the wing hinges and that's how we mounted them. Einar, Mike and I took turns looking and giving opinions about the lineup.
No matter how hard we pushed things, neither Einar or I could get a comfortable amount of tip to overlap the #10 rib and we should have stopped right there. But we went ahead. Bad decision on my part.
The next day I bugged poor Kerry and the STS gang again, and asked the crew chief at the museum. I got a real nice and deserved chewing out from the gent about stopping and asking first. Rivets should be between 2.5-4 rivet shanks diameter from the edge of the material being riveted, and a few rivets on the top and bottom were too close.
I tossed the #10 ribs and ordered some new ones, and repaired the wingtips by glassing a strip of 2" cloth on the inside with West Systems epoxy. At least it wasn't a leading edge.
While I was waiting for the ribs to come I moved on. First was cleaning up the tips where the glassing was a bit crude.
I get the feeling I'm going to be learning all kinds of new trades during this build. After applying a layer of gelcoat I spent the next day in front of the hangar sanding the wingtips to shape.
Next came the aileron torque tubes. As I was installing the tubes for some reason it really hit me, that the resistance I was feeling as they were was what I was going to be feeling when I fly her, and it was an odd feeling. If you believe in that sort of thing you could almost say the airplane was waking up and starting to talk to me.
Next came the rib trusses. On the #5 rib make sure you leave enough room so the lower rib will not force the truss against the aileron torque tube.
I filed the top of the truss a bit to try to make it conform to the rib a bit better.
Next came the inner wing cuff trailing edges. The manual gives some rough measurements for 3/4" holes to be drilled but I found it more accurate to just mark the location of the bolts on the cuff and drill them out. The flap hinges are mounted on standoffs and bolted to the wing, then the cuff is riveted to the rear spar...
and the trailing edge of the ribs.
Some 1.25" PVC pipe was split and velcroed to the leading edge to go under the wing cuff. This will reinforce the cuff against impact.
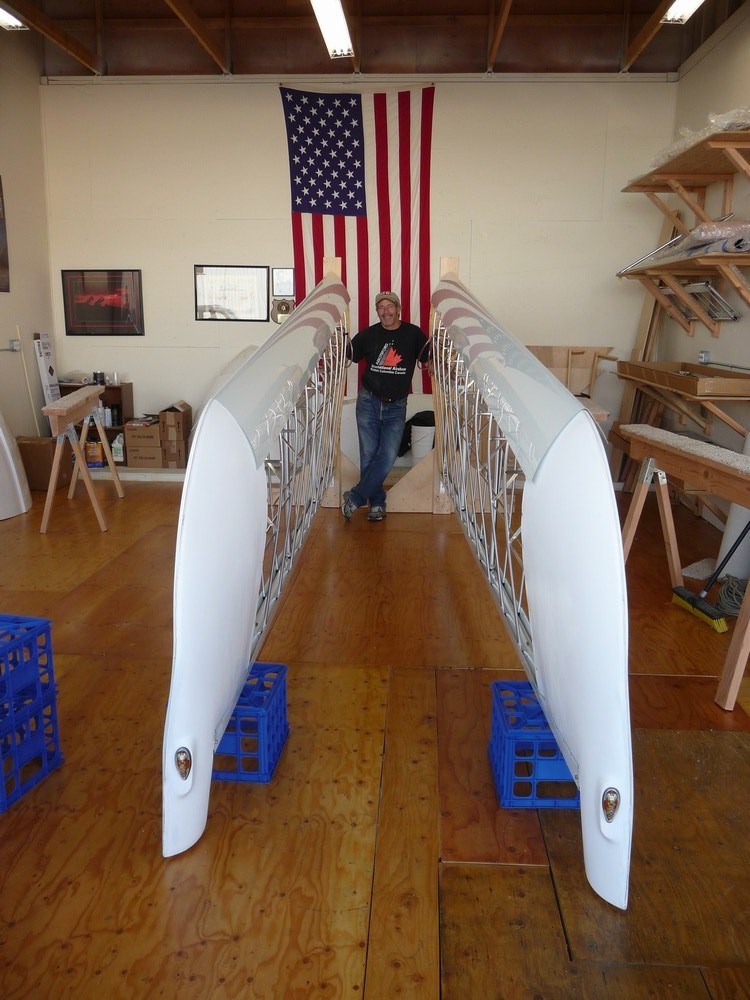
By this time the new #10 ribs had come and I had them installed the next day. With the aileron hinges on the inside of the trailing edge hinges there was plenty of room for the wingtips this time.
JR loaned me a really cool tool that set the spacing and lineup of the rivets.
But before I riveted in place I mounted a nutplate for the Aevoflash LED nav/strobe lights.
Level wing, level nav light.
Fall 2012
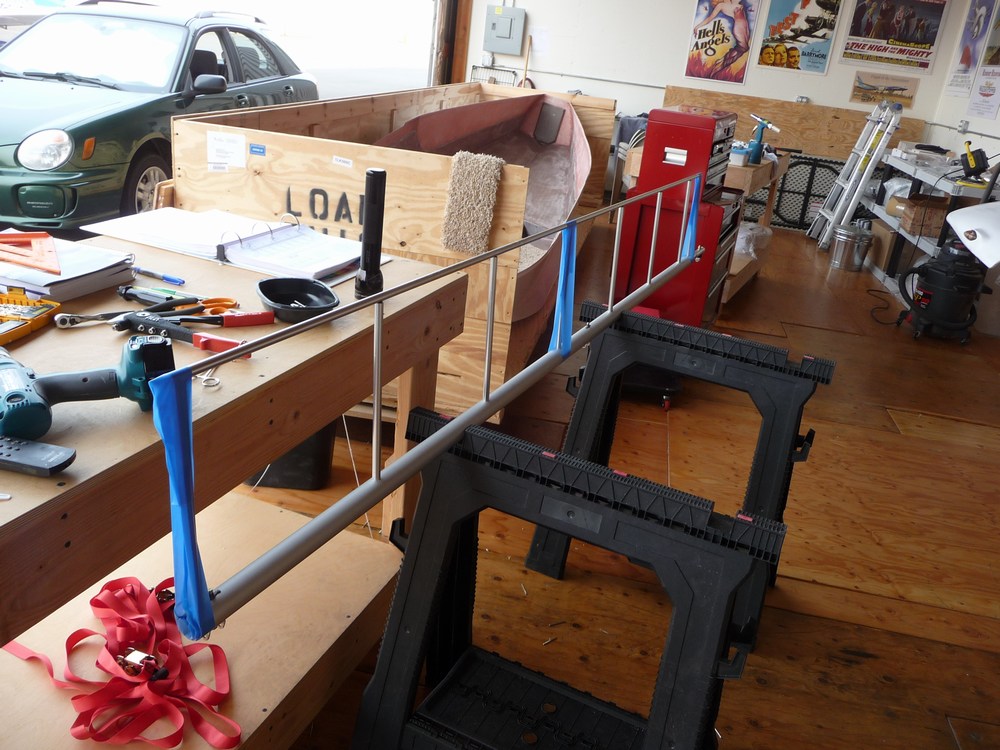
Note: after all the hassels of running the wire through the tubing, I later changed it to
3/4" bilge hose.
the tubing below has been
Next came running the wires. I thought all I 'd have to do was ziptie the rubber tubing in place and the wire would push right through. Nope, didn't happen.
No photos from the rest of the day, after spending a day swearing and getting frustrated I asked for help, and the next day Hal and JR suggested taking the tubing off the wing and spraying a 30/70 mixture of dishsoap and water into the tubing for lubrication. Some .041 safety wire was ran through the tubing as a fish and the wire pulled through easily. Afterward the soap was flushed out with a hose and high pressure air blew the water out before the connectors were attached and the tubing mounted.
So screwing the wingtips up the first time was a blessing in disguise. It allowed me to get the wire ran, which would have been a pain with the tip on.
Now for the outer rear wing cuff. After drilling out the bolt holes I carefully drilled out the wingtip bolt hole with a dremel tool.
The wingtip form support went into place next...
After framing up the flaps (in the LSX they're all the 914 version)
I installed the ailerons and flaps and checked for clearance and smooth movement.
With everything copacetic the hinge standoffs are riveted into place.
I'm not quite sure how I'm going to mount the landing lights, but here's how the tubing looks when it's been soaped up and the landing light wire ran.
The soap is washed out and blown dry....
and mounted.
I learned a long time ago you can always make wire shorter, so I ended up with a coil of extra wire and tubing.