Saturday, August 7, 2010

There shall be wings!

"There shall be wings! If the accomplishment be not for me, 'tis for some other. The spirit cannot die; and man, who shall know all and shall have wings..."
— Leonardo da Vinci

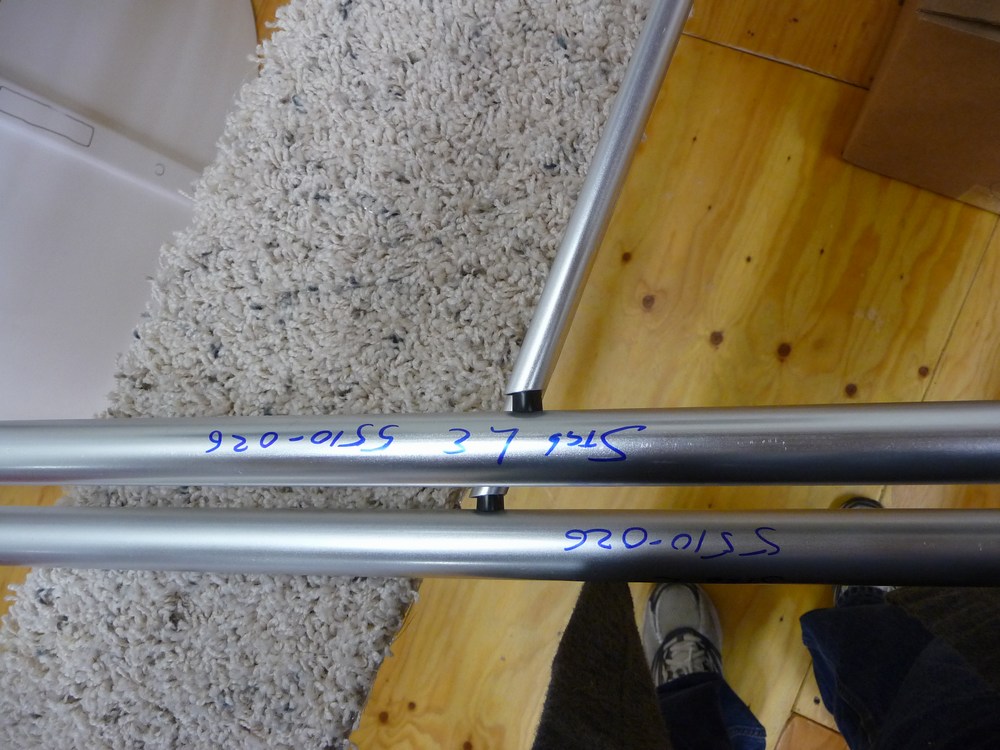
I don't care who you are, when you pull this big long tube down from the rafters that says "Leading edge" and you lay it down on the sawhorses....  well, you're a stronger person than me if you don't go *gulp*.


I was scared to death I was going to put the brackets and nutplates on the wrong side.


I have the luxury of a hangar to do my build. I set everything up so the wings were trailing edge-trailing edge. The wings are not built in a jig so I made sure the sawhorses were level, then when I laid the leading and trailing edges down I made sure they were level. Hope that's enough, I won't know until the first flight.


The first big puzzle was how to attach the drag and anti-drag cables after the compression struts were attached. They're pre-assembled and it was impossible to attach them when the struts are in place. I ended up detaching the struts, attaching the cables, then (gently) pushing the struts into place.


One thing I was taught is bolts go "down, back, and in". The manual shows the aileron torque tube bearing block bolts coming in from the bottom and the nut on top. I haven't gotten a good answer why it violates that rule so I put my bolts in from the top.


The wing begins to take shape as the wing tip tube is attached.


Next the edges are measured for rib placement according to a diagram. Blue tape is my friend, I buy it in bulk and marked the locations with a Sharpie.

I think I measured and remeasured a few dozen times.

Some of the tabs didn't quite align so I had to drill them out and twist them into alignment.


Deep breath, and the ribs are drilled and cleco'd into position.


A point 11" back is measured from the leading edge and a string ran from the #1 rib to the #10. This position is marked and drilled, then plastic inserts are riveted into position. I tried the pneumatic gun and made a mess of the first couple, so I drilled them out and redid them by hand.


The manual calls for the rib support tubes to be cut to length, but based on advice from another builder I cut them a little big, then sanded them to conform to the curve of the ribs. I had to order some extra tubing to do so.


I added the cuff support angles early to help align the ribs.


With everything dry fit, it was time to rivet.

\


This nice thing about building back-back: I can double check my work against each other.


The rib support tubes are secured in place with stainless steel zip ties. If you're building a SeaRey be careful here, it's easy to overtighten the zip tie and it can't be loosened. Ask me how I know.

It's just a big model airplane... (Yeah, right.)

That's what I kept telling myself, and not to be nervous. The gang on the Tech Site were terrific about reassuring me and I studied the manuals and dry fitted the parts for a few days.


A friend named Einar stopped by one day to check on things and parts started going together.


I decided to start with the stabilizers because they were simple, and cheap to replace if I screwed up. 

The first rivet.


Einar has an extensive mechanical background and having him show up took away a lot of anxiety. I learned a tremendous amount that first day and got off to a good start thanks to him.


The first part.

After Einar left I did the other stab by myself.

The only concern I had is that there's a bit of a gap in the fit of the stab ribs. They fit ok, but if the leading or trailing edges are flexed outward the ribs detach. I emailed Kerry and sent some pics, according to him the covering holds it all together.

Gotta have some elevators to go with the stabs. The next day Einar stopped by to help. 


I don't know if it was intentional or not, but again Einar helped with the first one then went home while I stayed to build the second one.


"I no doubt deserved my enemies, but I don't believe I deserved my friends." -Walt Whitman

Oiling it Old School

Other builders told me to put a coat of Boiled Linseed Oil on the inside of the tubing as an anti-corrosion measure. Turns out this is an old technique that goes back to the early days of aviation and while there are new materials, Boiled Linseed Oil is a tried and true method.


First, tape over all the openings except one end with blue painter's tape.

Yes, every piece of tubing gets taped and treated.

Boiled Linseed Oil gives off heat as it dries and is highly flammable. Everyone filled me up with horror stories about it and I didn't take any chances when I was doing the treatment. (Note the metal trashcans for used material.) I was so concerned I was laying in bed around midnight and went back out to check on things. The next day I took all the used material by the county hazardous waste dump, thinking I'd be laughed at but they told me I did good.

Maybe I was being overly cautious, but better too much than too little.
 I found watering cans with a narrow spouts worked well for getting the oil in the tubing but it's still a messy process.

Disposable foil pans catch the drips while things dry.


After a few days horizontal I pulled the tape off and stood things up. It took about two weeks for everything to dry.


Once dry it's a few more days of cleanup using mineral spirits.


Before I cleaned a piece up I took a photo of the label and the part, then wrote the part number and description down on an inventory tag I picked up from Office Depot because the mineral spirits stripped the label off the part. After the part dried they got tagged.

The Ikea airplane

That's what a friend of mine dubbed the 'Rey as we were doing inventory. Everything is packaged in bags for each step, and there's a detailed inventory list to go through before building commences. Took a couple days.


I also used some 2x6's to build some sawhorses and covered them with scrap carpet.


Something I learned: Hit Home Depot or Lowes Saturday or Sunday evenings after the weekend crowds have gone home and check out the miscut wood section. I was able to score over $200 of lumber for less than $20.

D-Day

Delivery Day. After getting pushed back a month, it was finally time.


The guys were still installing the electrical when the word came.

YEAH!!!

Welcome to your new home.
There were three damaged areas on the box. We caught two of them. (Cue ominous music...) The one we missed is in this picture. Can you spot it?

 Proud owner

I resemble that remark....

We checked out the two obvious areas of outer damage and found no internal damage. So we packed her back up until the guys had finished the electrical and lighting installation. As the day wound down Friday the electricians left and friends showed up. It was time.


As I opened up this end of the box and took out the first layer of boxes I looked down and went "Oh shit...."


During shipping a fork had struck the crate, which then impacted the box of tires, which then impacted the hull.


I filed a claim with the shipper YRC Freight who denied it. Their position is that since the damage was not found on delivery it's not their fault.


Once the shock wore off we jumped in and unpacked the rest.

It's not just the airplane, it's the friends you make along the way.