"There shall be wings! If the accomplishment be not for me, 'tis for some other. The spirit cannot die; and man, who shall know all and shall have wings..."
— Leonardo da Vinci
I don't care who you are, when you pull this big long tube down from the rafters that says "Leading edge" and you lay it down on the sawhorses.... well, you're a stronger person than me if you don't go *gulp*.
I was scared to death I was going to put the brackets and nutplates on the wrong side.
I have the luxury of a hangar to do my build. I set everything up so the wings were trailing edge-trailing edge. The wings are not built in a jig so I made sure the sawhorses were level, then when I laid the leading and trailing edges down I made sure they were level. Hope that's enough, I won't know until the first flight.
The first big puzzle was how to attach the drag and anti-drag cables after the compression struts were attached. They're pre-assembled and it was impossible to attach them when the struts are in place. I ended up detaching the struts, attaching the cables, then (gently) pushing the struts into place.
One thing I was taught is bolts go "down, back, and in". The manual shows the aileron torque tube bearing block bolts coming in from the bottom and the nut on top. I haven't gotten a good answer why it violates that rule so I put my bolts in from the top.
The wing begins to take shape as the wing tip tube is attached.
Next the edges are measured for rib placement according to a diagram. Blue tape is my friend, I buy it in bulk and marked the locations with a Sharpie.
 | |
| I think I measured and remeasured a few dozen times. |
 |
Deep breath, and the ribs are drilled and cleco'd into position.
A point 11" back is measured from the leading edge and a string ran from the #1 rib to the #10. This position is marked and drilled, then plastic inserts are riveted into position. I tried the pneumatic gun and made a mess of the first couple, so I drilled them out and redid them by hand.
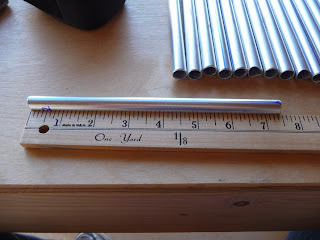
The manual calls for the rib support tubes to be cut to length, but based on advice from another builder I cut them a little big, then sanded them to conform to the curve of the ribs. I had to order some extra tubing to do so.
I added the cuff support angles early to help align the ribs.
With everything dry fit, it was time to rivet.
This nice thing about building back-back: I can double check my work against each other.
The rib support tubes are secured in place with stainless steel zip ties. If you're building a SeaRey be careful here, it's easy to overtighten the zip tie and it can't be loosened. Ask me how I know.


 \
\

1 comment:
Thank you...
Post a Comment