So the decision has been made. Wet sand off all the crud with 400 grit, respray silver Aerothane over any I sanded off, then respray the wings.
For those builders who are debating about painting, a couple more thoughts about my process (errors) to help with their decision.
To recap, the PolyFiber manual recommends Tone for fabric and Aerothane for metal, but also advises Aerothane can be used on fabric, as long as you wait 4 days for the Spray to outgas, since Aerothane is a non-porous coating, and PTone cannot easily be used on metal. Since I was under a time crunch with limited paint booth availability, I went with Aerothane instead of PolyTone, I thought I'd save time by spraying everything all at once. In retrospect, I was wrong, though others tried to warn me, sigh.... (On my next SeaRey...)
Lessons learned:
First, It didn't sink into my numbskull that I could have used PolyTone on the fabric immediately after spraying (instead of waiting 4 days for the PolySpray to outgas before applying the hard coated/non-porous Aerothane), if it had I would have used PolyTone on the fabric parts, and it actually would have saved time, since I could have eliminated waiting the 4 days of outgassing and sprayed color right away.
Second, if I have to repair a control surface (like if a float safety release breaks and it punches a hole in the bottom of the wing), I could just remove the PolyTone around the damaged area with some reducer, make the repair and respray/apply the PolyBrush/Spray/Tone immediately, and blend the repair into the surrounding PTone with some reducer. With Aerothane I'll have to sand it off down to the silver, reapply the silver, let it sit, then reapply the Aerothane. Plus, for long term you can rejuvenate (their words, not mine) PolyTone painted surfaces when the paint gets old (+15 years). Probably not a big factor on hangared airplanes, but...
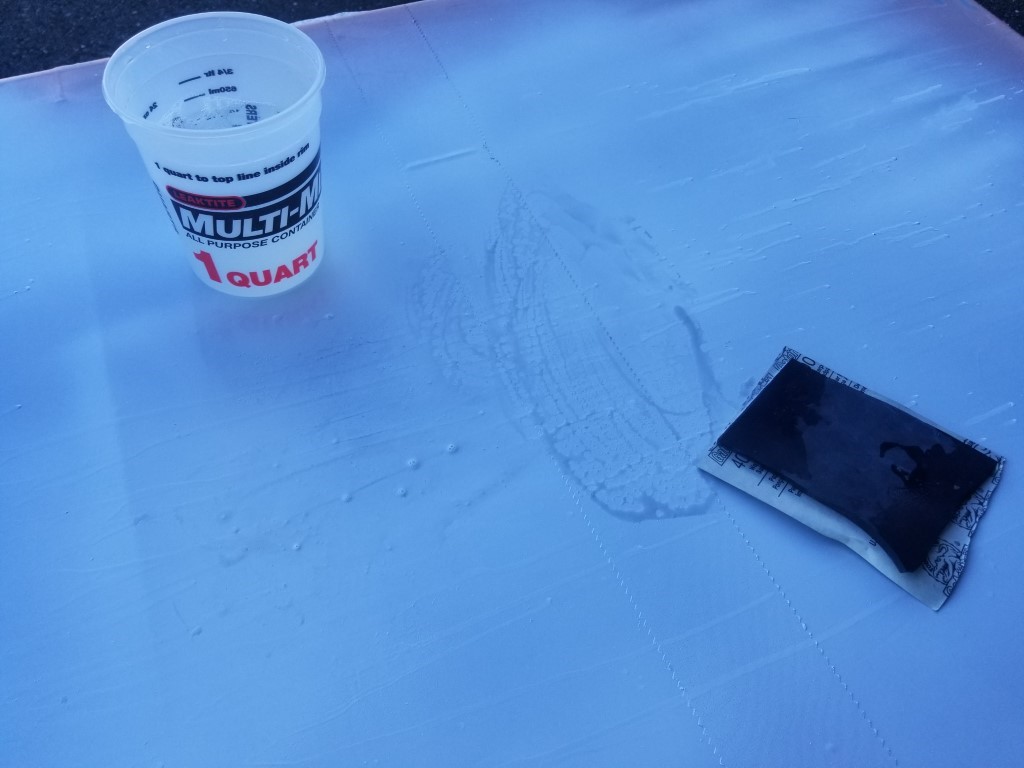
Third, with PolyTone you don't have to use a full breathing kit, you can use the same rig as you do with PolyBrush/Spray. Speaking of which, a local gent is loaning me his booth for the wing respray, it does not have a personal air supply so I've ordered a Hobbyair unit. When I'm done respraying in a month or two I'll have it for sale, including the hood, if anyone is planning their painting and needs one.drop me a note if you're interested. I also have a couple extra gallons of PBrush and 65-75 reducer, but not sure if it would be worth selling since it's considered Hazmat for shipping.
Fourth, if I had gotten a run with PTone, I could have just wiped it off with reducer and resprayed shortly afterward, instead of waiting a week for Aerothane to dry, then sanding it off and reapplying. Same with all this FOD on the wing that I now have to sand off. I could have just gotten out a rag and wiped it all off.
Fifth, you have to wait a week for Aerothane to dry before masking for trim, Tone only 12 hours (overnight).
Sixth, PolyTone is about 1/3 the cost. (that really hurts)
If you REALLY must have an overall glossy finish, and have the time and money to do it right, go ahead and use Aerothane over the fabric, but keep in mind repairs are going to be a bit more difficult/involved. OTOH, if you don't care about semi-gloss fabric, want to save money, make repairs easier, and maybe are under a time crunch, go with the mixture of Tone and Aerothane.
The down side is that I would have had an airplane with semi-gloss fabric and glossy metal, but that would not bother me, and even PolyFiber mentions in the manuals that's more historically accurate since dope covered fabric is semi-gloss. If I ever (knock wood) break anything bad enough to need recovering I'll use PolyTone for the new surfaces.
On the way home after a long stretch of trips, have at least a week off now and with a bit of luck (and patience from an understanding wife) I plan to be at the hangar every day, may be able to get the sanding done this week.
Ah well, it's all good, and Thanks for listening, I hope it helps someone and is not the rambling of an old fart. She does look purty in her shiny paint, and the scheme we're kicking around (combination of vinyl and paint) should be easy to apply but striking.
Elbow grease on, grit off. Elbow grease on, grit off. Elbow grease on, grit off.